Table Info
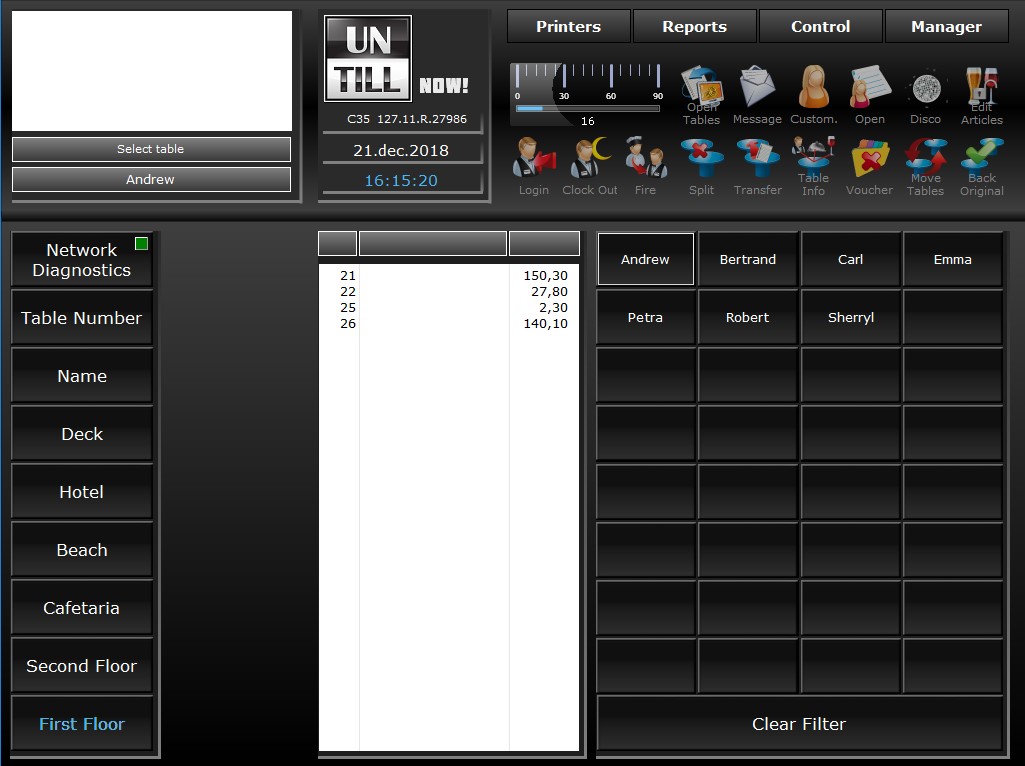
Open an overview of an open table, this can be done in two ways
Via Table Screen
- Press

- The info text changes into: Select table to show info
- Select an open table

- The Table Info layer opens showing
➀Specific data for the table
➁Articles that were ordered for this table - The Table Screen is also still visible, from the table plan➂you can now select other tables, from which you want the info shown, while the info layer remains open
- Press
 to go to the order screen of the current selected table, in case of a Split table: select the table part
 - Press
 to close the info layer and return to the Table Screen
 - If the info layer is inactive for a predefined time it is automatically closed
- Press
Via Order Screen
- Select an open table
 in the Table Screen in case of a Split table: select the table part
 - Press
 in the Order Screen
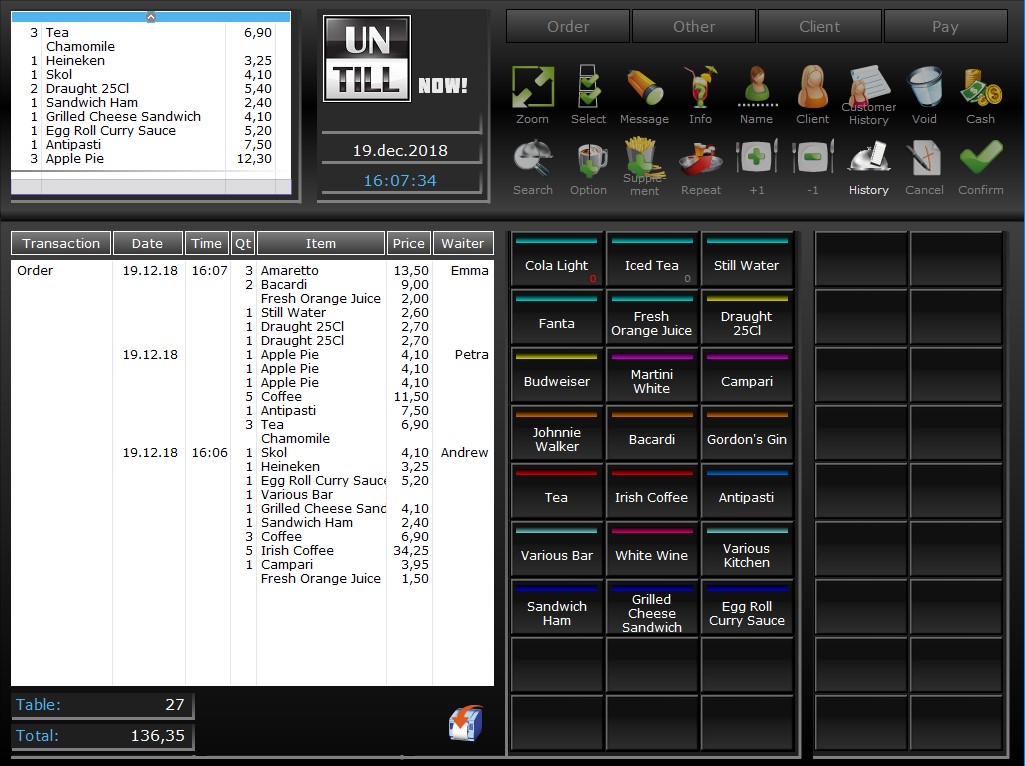
 - A slightly different Table Info screen shows➃
- It basically shows the same info, with the addition that you can directly print this overview via

- Press
 again to return to the Order Screen
How the info on table works is shown in the short demo clip below
1
2
3

1
Specified data for the selected table
2
Items ordered for this table
3
Table plan
1
2
3
4
4
Order history
View and/or Print Reports
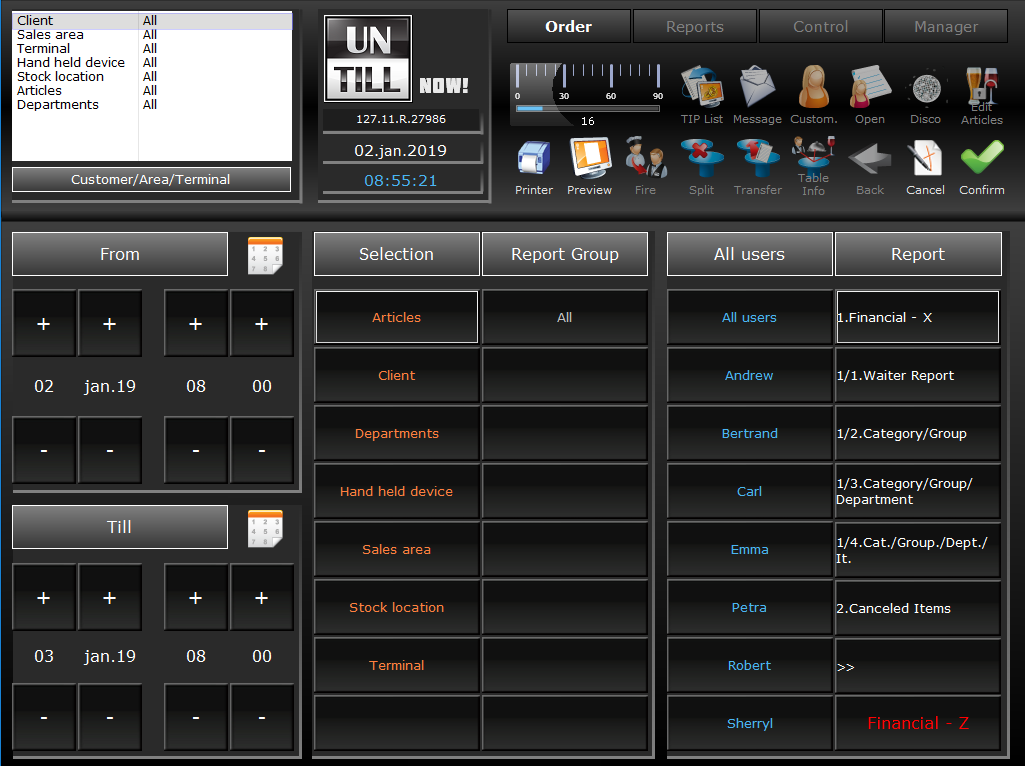
Select the subject matters of which you want to view and/or print a report
- Press the word “Reports” in the Table Screen
- Or select the word “Manager” and press
 in the Manager Screen
Press if you want the report to be printed to a pre-assigned printer
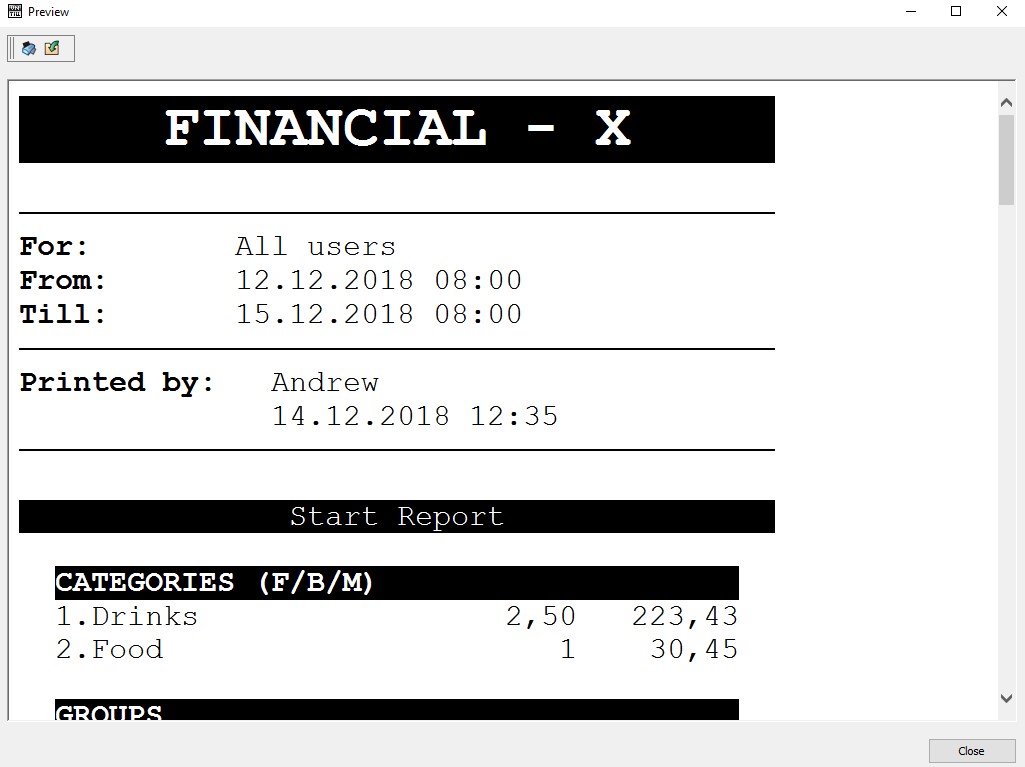
Press to view the report on your screen in a pop-up window➇
 - Enter a start and end date & time using plus (+) and minus (-)➀
- You can define parameters that are used to generate the report➁
- If you want the parameters to apply to all sections, don’t press the buttons
- Press one of the buttons in the “Selection” column to define to which items of the corresponding button the report parameters should apply
- Press
 when you are done selecting filter items
- If you choose “Cola”, “Client A”, and “Sales area 1” for example, the report will only display the data regarding Cola, client A, and sales area 1
- In the overview➅a summary of your selections is shown
- To undo your choice, click the article, department, etc again and they will be removed from the overview. To clear the client field press
 in the Client Screen
- Select the user(s)➂
- Click on your desired report➃
If you previously selected the report is printed
If you previously selected a pop-up screen opens showing the report➇
 - Press
 or the word “Order“➆
You automatically return to the Table Screen
Receive or Withdraw Cash
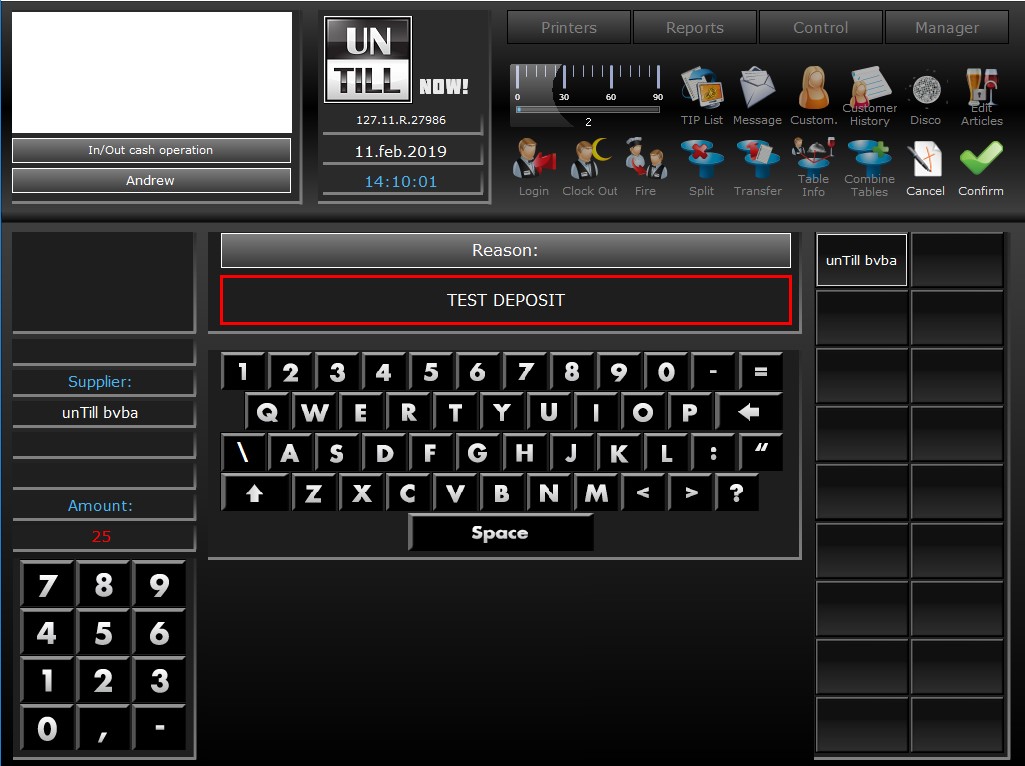
You can add or take out cash and digitally keep track of it via this function, so there are no discrepancies in your bookkeeping
- Open the Manager Screen by clicking on the word “Manager” in the Table Screen
- Press
 to withdraw cash from the drawer
Press to receive cash in the drawer
 - Select the box➀above the numeric pad, a red square outlines the box
- Enter the amount on the numeric pad➁(a minus sign is added in case of withdrawal)
- Optionally enter a reason by selecting the box➂above the keyboard➃if the red square outlines the field you can enter the reason via the keyboard
- Optionally select a supplier➄
- Press

You return to the Table Screen
1
2
3
4
5
1
Amount box
2
Numeric pad
3
Reason field
4
Keyboard
5
Suppliers

